Immediately send automated e-mails via Mailchimp
The default welcome automation is an e-mail sent immediately to the new subscriber after signing up. In the automation builder, you can determine how long it takes for the subscriber to receive the mail. The automation adds the new subscribers to your customer base, so the trigger and target group of the mail are not customisable. You can pause the automated mail at any time. If you have a paid Mailchimp account, you can set up your customer journey. You do it like this:
- Click on the 'automations' icon on the left of the table of contents;
- Click 'Welcome new subscribers', then the screen below will appear:

3. You can design the campaign yourself by customising the subject, deciding when you want to send the email and on which days;
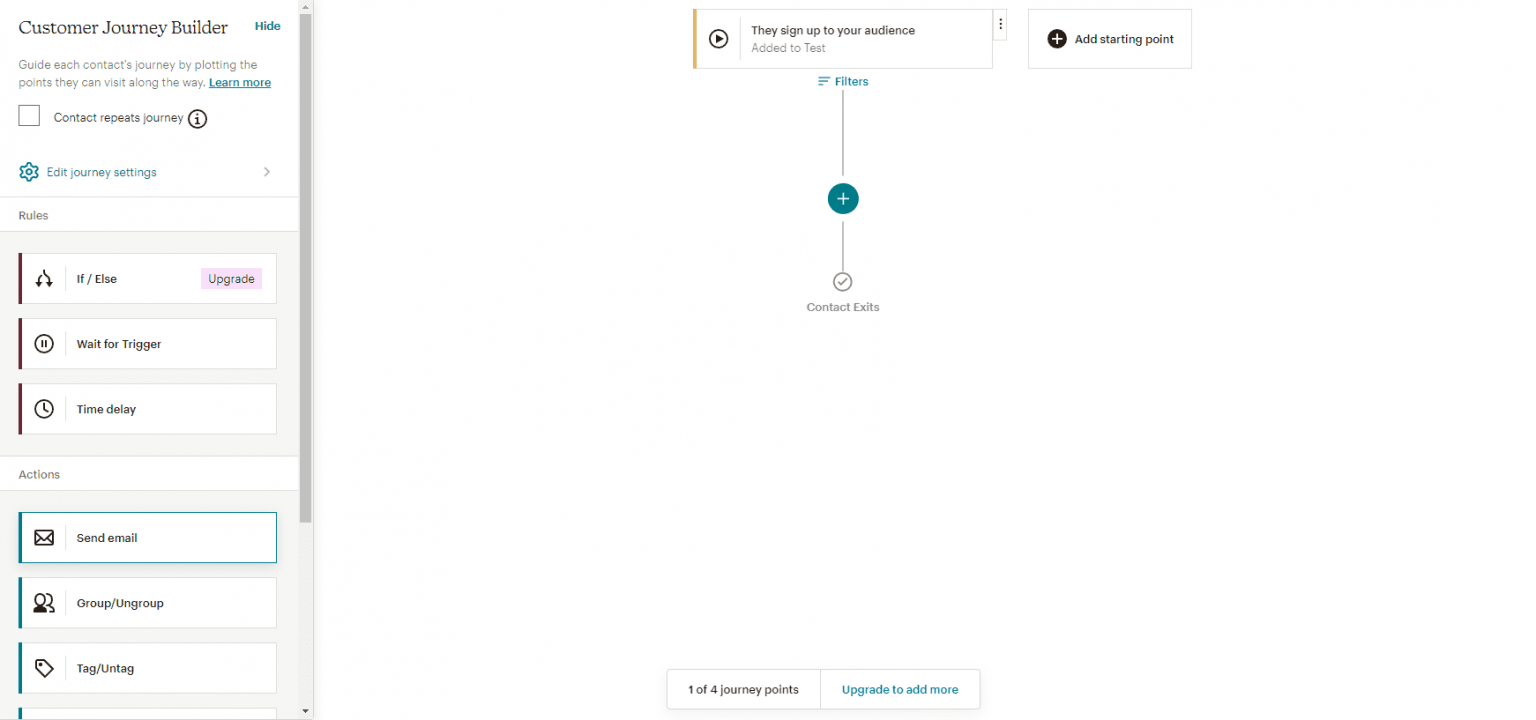
4. Next, you can then create your own email template for your first welcome email;
5. Set below: the trigger is when a new subscriber is signed up. The associated action is to send the welcome email;

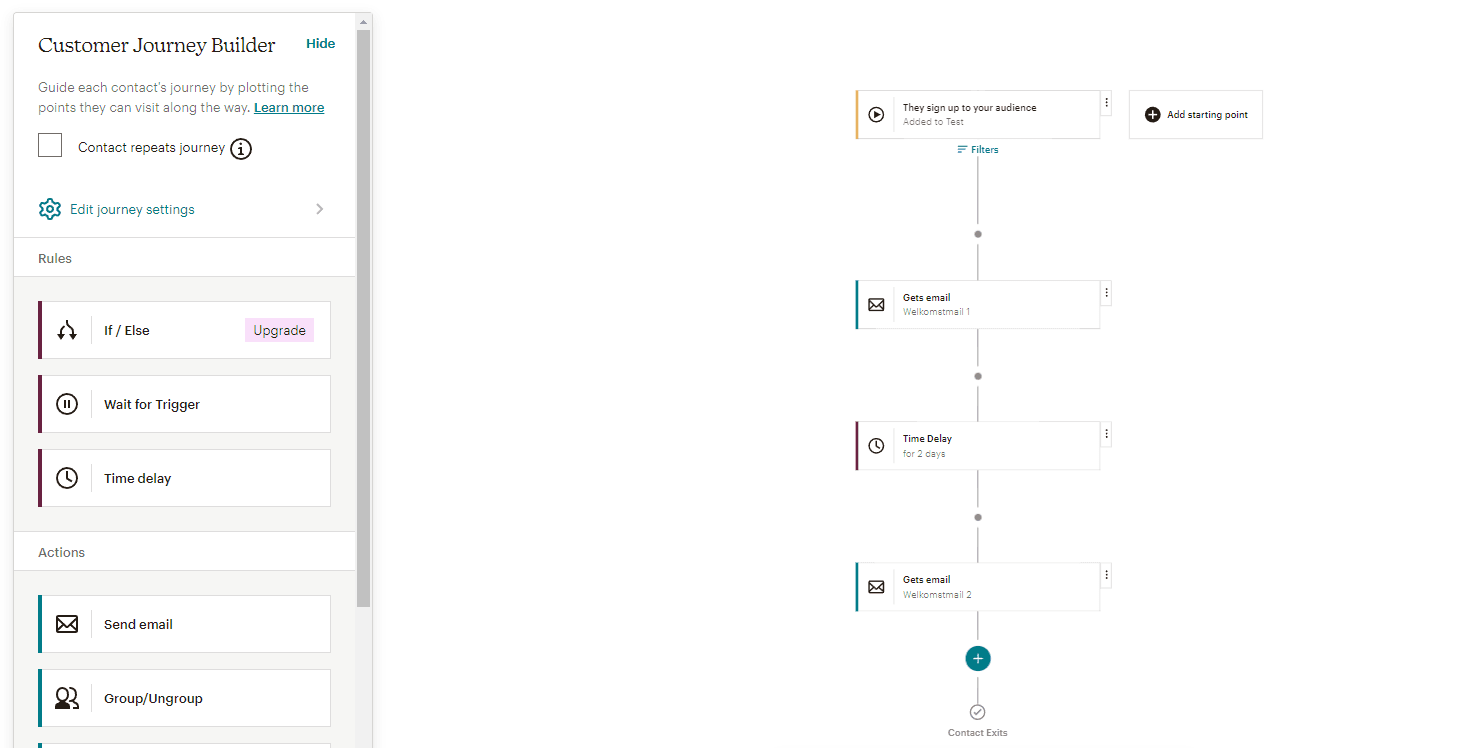
6. You can also choose to send another email after a few days;
7. Add a delayed button to the customer journey. The time after the second mail is sent can be set. Then add a second welcome email to the journey.
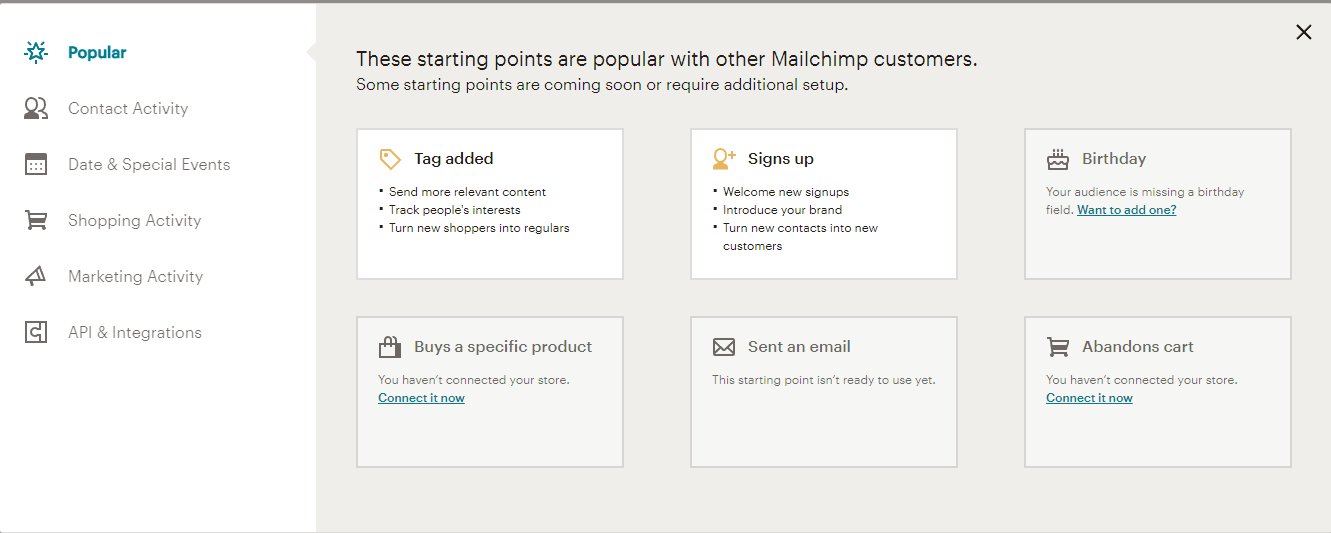
8. Once you've done that, then you can choose what purposes you want to use the automated campaign for. The most obvious is 'sign ups', but you can also use automation in other ways.
Tip: test your automated mail!
Still, before publishing automation, it is always useful to test it yourself to see how it arrives in your inbox.
For example, try testing to sign yourself up as a new subscriber
That way, you see exactly what the subscriber receives when he or she signs up for your mailings.